Banana “Klondike” bars

Klondike bars bring back so many memories. My grandmother often had a package of them in her freezer that she would share with us as an after-dinner treat. While I love the original version, I find them kind of heavy and definitely not something I want to eat all the time.

klondike bars on wire rack

However, I was reminded of my love for the chocolate covered ice cream squares on a trip to Mexico and thought of a way I might have them more often without going overboard on the sweets. Throughout Mexico you will find fruit popsicles known as paletas. It can get REALLY hot there so there are popsicle carts on many corners and freezers of these colorful treats in almost every shop.

mayan ruins

After exploring some ruins on a rather hot day we wandered back to the main square looking for a little refreshment and way to cool down. As expected, we found a cart offering paletas. I love bananas so I opted for a blended banana option that looked like a delicious ice cream bar. As the older woman went to hand it over she smiled and asked if I would like it dipped in chocolate. Well how could I pass that up?!

She quickly dipped it into a container of perfectly melted chocolate that hardened up on the cold bar almost instantly as she handed it to me. It was pure heaven on that hot day and the impotence for this homemade healthier version of the classic Klondike bar.

stacked bars

After testing several batches that the family happily ate up, I found a few key things to making this frozen treat.

  • Start with well-ripened bananas. Maybe not quite as brown as you would use for banana bread, but you definitely want them to be flecked with brown so they have well-developed flavor.
  • Be patient. These bars are made in several steps and if you rush the freezer process you won’t be able to coat them in chocolate.
  • Use quality chocolate. These bars only contain a few ingredients and the chocolate is a large part of the flavor so don’t skimp on the quality of chocolate you use. We preferred the dark chocolate version but use whatever chocolate you prefer.
  • Work quickly when coating the filling with the melted chocolate. The chocolate coating will begin to set as soon as it hits the cold banana mixture so you need to work on one bar at a time and one side at a time. I found a small offset spatula like you would use for frosting cookies or cupcakes is the best tool for getting a thin even layer of chocolate.
Print
clock clock iconcutlery cutlery iconflag flag iconfolder folder iconinstagram instagram iconpinterest pinterest iconfacebook facebook iconprint print iconsquares squares iconheart heart iconheart solid heart solid icon
Stacked klondikes

Banana “Klondike” bars

  • Author: Ashley
  • Prep Time: 6.5 hours
  • Total Time: 13 minute
  • Yield: 9 bars 1x
  • Category: Dessert
  • Method: No Bake

Description

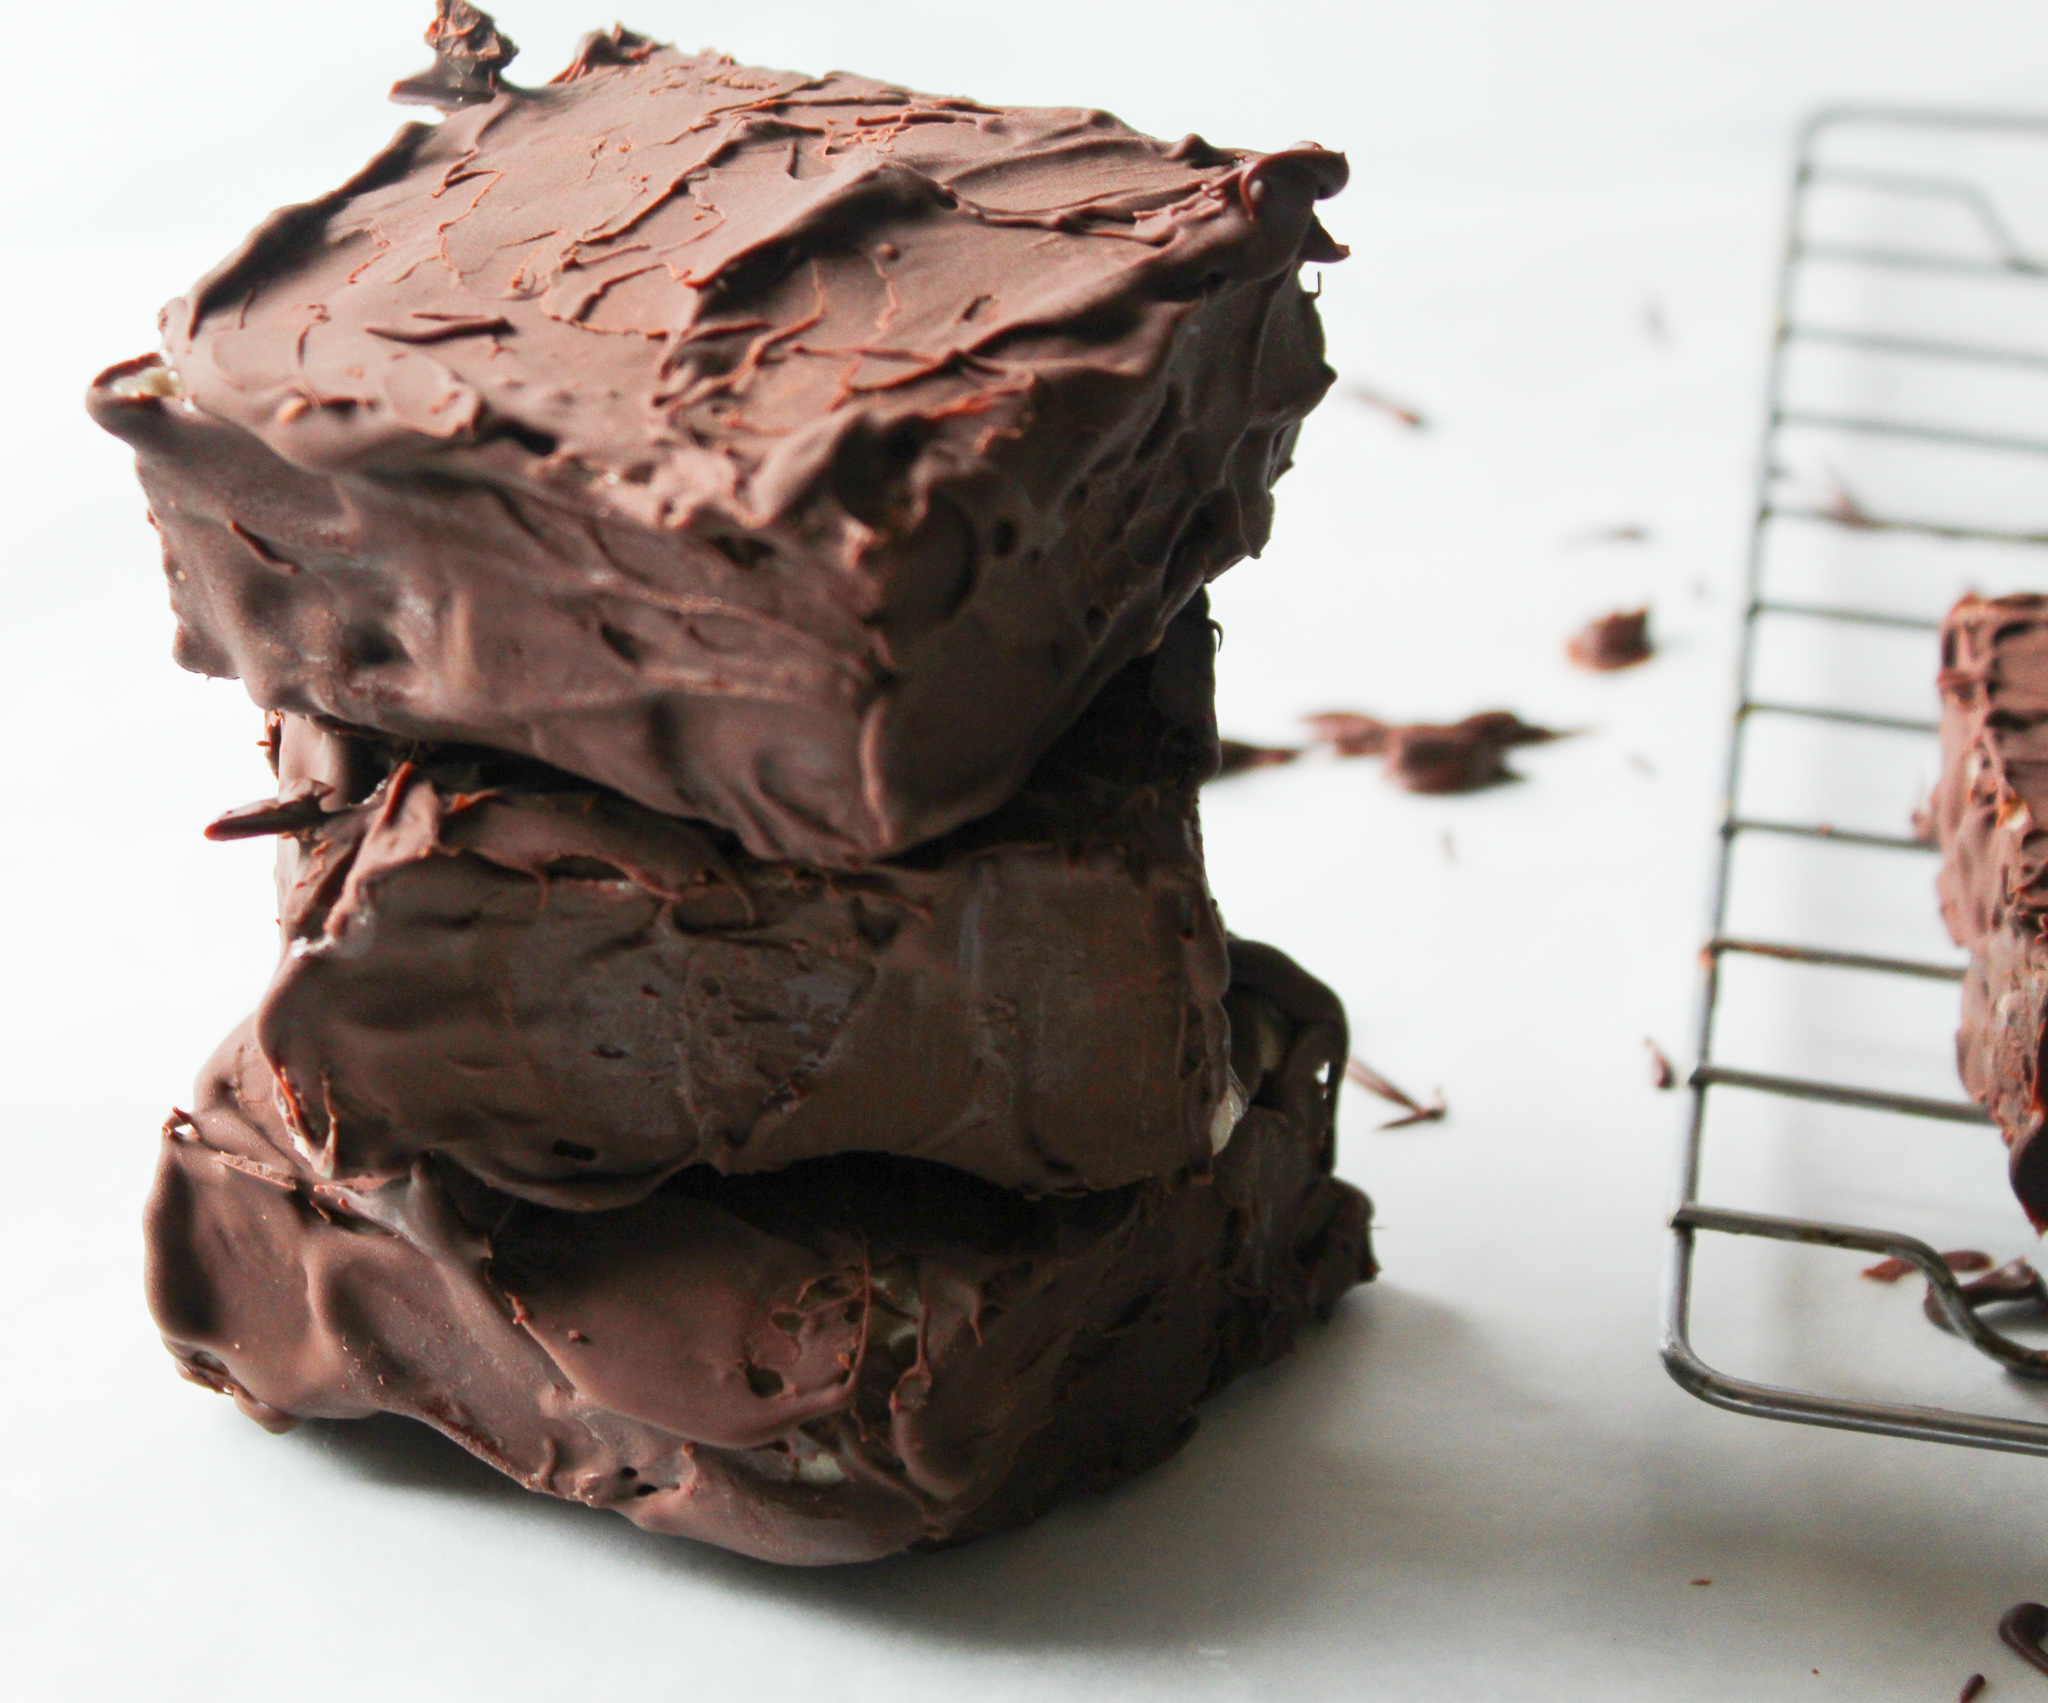
A healthy version of Klondike bars means you can sate that craving without feeling guilty. Inspired by paletas in Mexico and childhood memories of my grandma’s freezer packed with Klondike bars these will be a warm-weather go-to. 


Ingredients

Scale
  • 4 ripe bananas
  • 1 cup unsweetened vanilla almond milk
  • 4 Tbsp natural smooth peanut butter
  • 20 oz dark chocolate (or chocolate of choice), chopped or use chips
  • 1 Tbsp coconut oil

Instructions

  1. Slice the bananas into chunks and place on a wax paper lined cookie sheet. Place in the freezer for 2 hours or until frozen solid. Set aside the cookie sheet for later. 
  2. Place the frozen banana pieces, almond milk, and peanut butter into a food processor fitted with metal blade. Blend until smooth like a soft serve ice cream. 
  3. Line an 8×8 pan with parchment paper. Pour the banana mixture into the prepared pan and smooth out evenly. 
  4. Place banana mixture in freezer for 2-3 hours until solid. 
  5. Once frozen into a block, pull the mixture out using the parchment paper. Place on a cutting board. 
  6. Using a knife dipped in warm water and wiped clean between each cut, slice into 9 even pieces. 
  7. Using the cookie sheet lined in wax paper, spread out the slices of banana mixture and return to the freezer for another two hours. 
  8. Right before removing the filling slices from the freezer, combine the chocolate and coconut oil in a microwave safe bowl. Microwave in 30 second increments, stirring between increments, until melted and combined. 
  9. Remove the filling slices from the freezer and place on a wire rack with wax paper underneath it. 
  10. Working one slice at a time, cover the top and four short sides with melted chocolate using an off-set spatula. The chocolate sets up on the cold filling quickly. 
  11. Flip the slices over and cover the bottoms with an even layer of chocolate. 
  12. Return the coated bars to the cookie sheet and place in the freezer until ready to enjoy. 
  13. Store these homemade klondike bars in a plastic container if they aren’t eaten right away.

Notes

  • I found it best to work with half the slices at a time when coating in chocolate. Keep the other half in the freezer until you are ready to coat those. 
  • Depending on how thick you like your chocolate coating, you will most likely have leftover melted chocolate. This is great for dipping strawberries in, drizzling on slices fruit, and topping pancakes and waffles. 

Keywords: klondike bars, healthy sweets, bananas, chocolate

About The Author

admin